
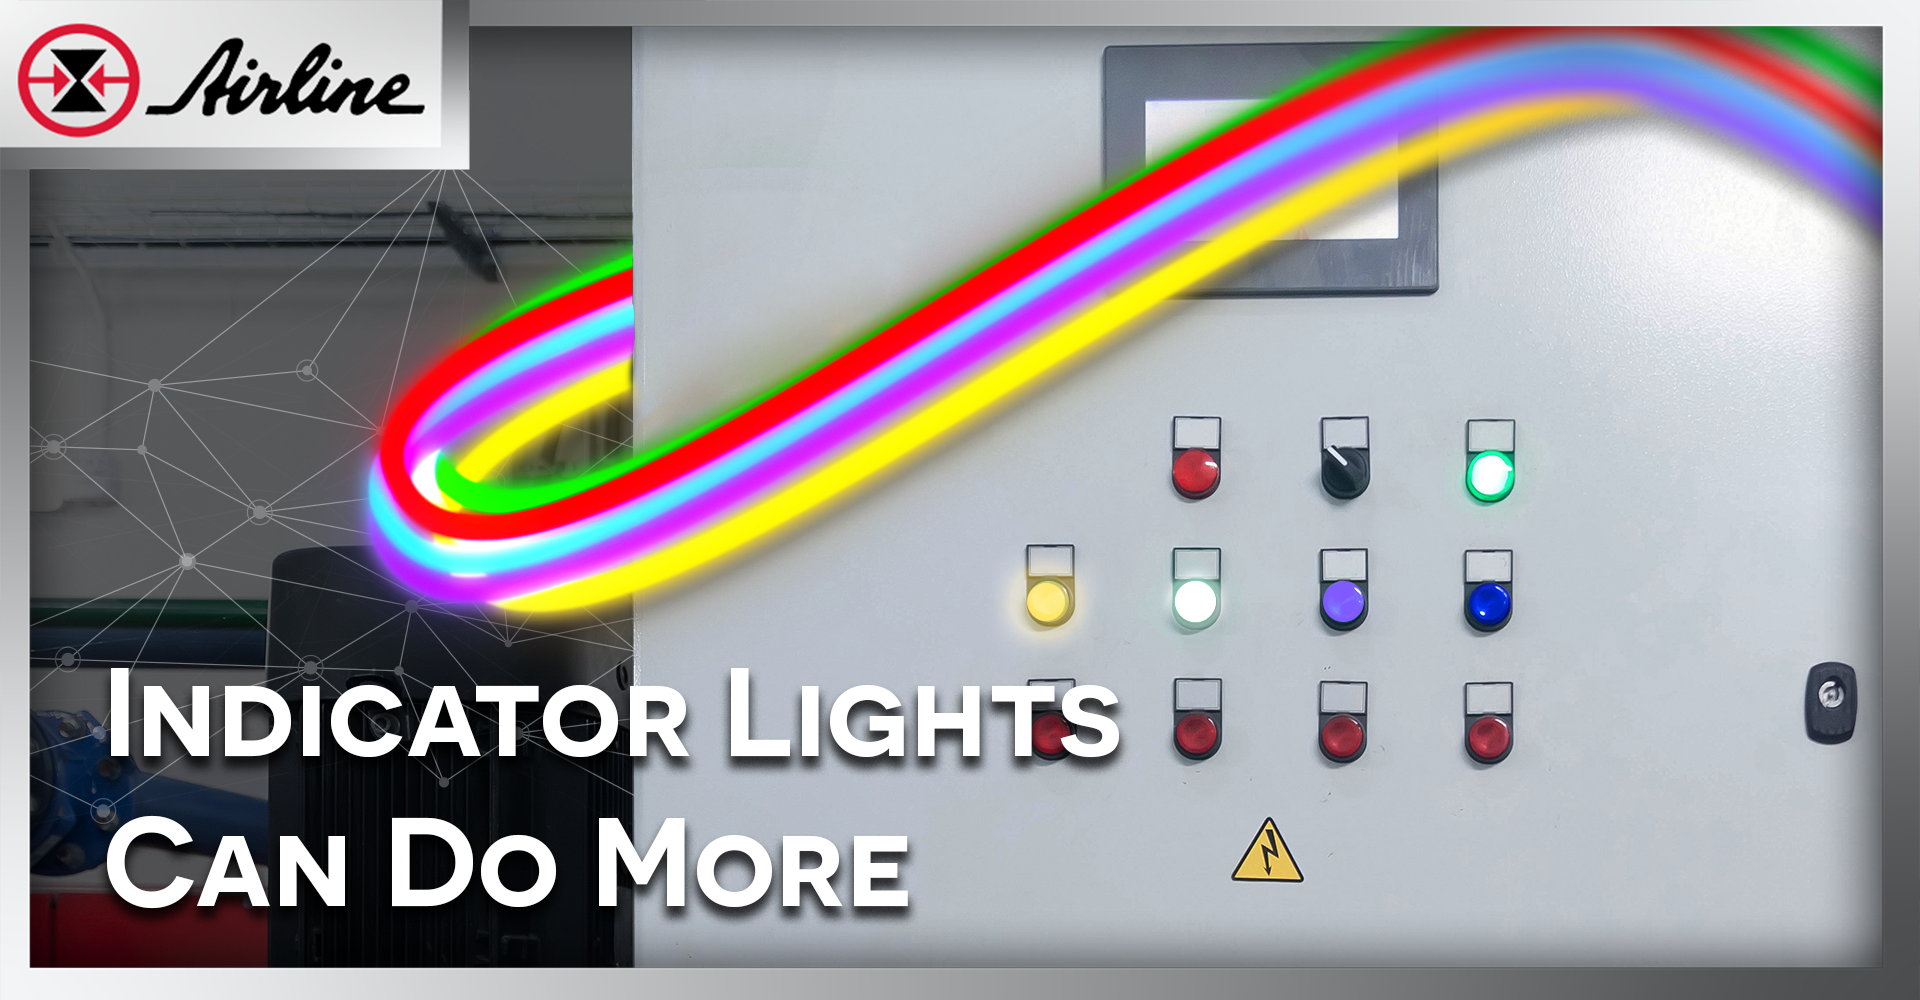

In many control panels, status lights get added at the end. You pick red, yellow, and green, wire them up, and move on.
But modern machines are more complex than Run / Fault / Stop. And your operators are expected to do more with less. That’s where a well-planned LED pushbutton and indicator light strategy helps. When you intentionally choose colors—and drive them with PLC logic—your panel can “talk” clearly. That means faster troubleshooting, fewer mistakes, and less downtime.
Below are practical ways to get more value from every LED illuminated pushbutton and pilot light in your panel.

Table of Contents (Jump to a Section):
Why LED Pushbuttons Matter? | Standard LED Indicator Lights | Expanding LED Pushbutton Color Options | Using PLC-Controlled LED Pushbuttons | Best Practices | How RGB Works FAQ | Resources
Why LED Pushbuttons and Indicator Lights Matter in Modern Control Panels
Control panel indication affects real outcomes:
- Faster troubleshooting (less time guessing)
- Reduced downtime (problems get found earlier)
- Clear shift-to-shift communication (no “it was like that when I got here”)
- Fewer operator mistakes (the panel guides the right action)
- Improved safety response (urgent states are more obvious)
When your LED pushbutton and indicator strategy is clear, your machine becomes easier to run and maintain.
Standard LED Indicator Light Colors in Industrial Control Panels
 Most facilities follow familiar meanings:
🟡 Yellow (or amber) = warning / abnormal condition
🟢 Green = normal / safe condition
This lines up with common guidance in industrial standards for machine control devices. For example, IEC 60204-1 color guidance commonly ties red to danger/emergency, yellow to warning/abnormal, and green to safe/normal.
Also, emergency-stop devices have their own rules. Common standards call for an E-stop actuator that is red, and a yellow background when a background is used.
One more note: OSHA’s safety color code is not written specifically for control panel pilot lights, but the basic idea is similar—red is tied to danger, and yellow is tied to caution in hazard marking.
Bottom line: keep red/yellow/green for the big, high-priority meanings.
Expanding LED Pushbutton Color Options Beyond Red, Yellow, and Green
Once your red/yellow/green meanings are locked in, you can add more colors for clearer detail.
For example, IEC-based guidance often includes blue as a “mandatory” or action-focused color, and treats white/grey/black as neutral (no specific meaning assigned).
Here are practical, real-world ways people use extra colors:
🔵 Blue: “Operator action needed”
Good uses:
- Manual mode active
- Reset required (especially after a trip)
- Load/unload request
- Acknowledge needed to continue
Why it works: Blue stands out from red/yellow/green and can be reserved for “a person needs to do something.”
⚪ White: “Control power present / ready”
Good uses:
- Control power on
- System ready but not running
- Cell available / waiting
- Safety circuit healthy (if your facility standards allow it)
Why it works: White is easy to treat as “neutral information.”
🟣 Purple: “Special status”
Purple is less common, which can be a benefit if you define it clearly.
Good uses:
- Communication state (special network condition)
- Quality hold / inspection needed
- Custom mode unique to that machine line
Rule for purple (and any uncommon color): only use it if you can standardize it and label it. Otherwise, it becomes a guessing game.
Using PLC-Controlled LED Pushbuttons for Multi-State Indication
Modern panels allow status lights to be driven by logic instead of hardwired contacts. This is where indication becomes powerful.
Temperature Monitoring with a LED Indicator Light
🟢 Green = normal operating range
🟡 Amber = approaching upper limit
🔴 Red = high-high trip / shutdown
For example, if a hydraulic power unit normally runs at 120°F, you might program:
- Green below 140°F
- Amber between 140–160°F
- Red above 160°F (shutdown threshold)
Instead of waiting for a single over-temperature alarm, the panel shows how close the system is to its limit. Operators can check cooling fans, fluid levels, heat exchangers, or ambient conditions during the amber stage — before seals are damaged or the machine trips out.
This makes temperature visible as a controlled range, not just a failure event.
Maintenance Status Using a PLC-Driven LED Pushbutton
⚪ White = accumulating runtime (informational)
🟡 Amber = service due soon
🟡🟡 Flashing amber = overdue
For example, if a compressor requires service every 1,000 runtime hours, the PLC can track accumulated hours:
- White while running normally under 900 hours
- Amber between 900–1,000 hours
- Flashing amber once 1,000 hours is exceeded
Instead of relying on someone to check a maintenance screen or spreadsheet, the panel itself communicates service status. Operators and maintenance technicians can plan downtime during the amber window rather than reacting after performance drops.
This works especially well for:
- Hydraulic filter changes
- Automatic lubrication reservoir refills
- Gearbox oil service
- Compressor or blower maintenance
The visual reminder reduces missed intervals and helps prevent avoidable failures caused by deferred maintenance.
Communication Status Indication with LED Pushbuttons
⚪ Steady = online and communicating normally
⚪⚪ Slow flash = attempting connection / intermittent communication
⚪⚪⚪ Fast flash = communication fault or dropped link
Consider a machine connected to a larger production cell or SCADA system. The equipment may still be physically running even if communication is lost.
You could program:
- Steady light when PLC-to-network communication is healthy
- Slow flash if the device is attempting to reconnect or experiencing packet loss
- Fast flash if communication is completely lost or timed out
Without this visual indication, maintenance might assume the machine is functioning correctly if motors and actuators are operating. Meanwhile, production data, alarms, or interlocks may not be updating.
By making communication health visible on the panel, technicians can quickly determine whether the issue is mechanical, electrical, or network-related — saving time that would otherwise be spent troubleshooting the wrong system.
Best Practices for LED Pushbutton and LED Indicator Light Design in Industrial Control Panels
Here are the biggest wins (and the most common problems) we see in real panels:
Best practices
Follow safety rules first
Keep red for emergency/stop/danger functions, and don’t reuse it for normal operation.
Standardize across a facility
The best color system is the one that’s the same on every machine.
Plan for visibility.
Think about viewing distance, glare, and ambient light.
Plan for visibility
Back up color with:
✔ text on the operator (lens marking)
✔ consistent location (example: all “action needed” lights in the same area)
✔ clear alarms on the HMI
 Designing LED Pushbutton Indication for Color Blind Operators Designing LED Pushbutton Indication for Color Blind OperatorsDid you know approximately 8% of men and 0.5% of women have some form of color vision deficiency, most commonly red-green color blindness? Because of this, control panel designers should avoid relying on color alone. LED pushbuttons should use consistent placement, flashing patterns, and clear labeling to support operators who may not distinguish certain colors easily. Combining color, flash rate, and text labeling improves clarity for all users. |
Common mistakes
1. Using too many “creative” colors with no written rules
2. Mixing up meanings: blue on one machine means “manual,” on another it means “fault”
3. Relying on color alone when a label would remove all doubt
4. Putting an illuminated pushbutton where you don’t want anyone pressing
Remember: If you need a legend, add one. A small panel label can prevent big confusion.
One Device, LED or Button, Many Colors: Eaton’s M22 RGB LED
If you like the idea of showing more information without adding more panel hardware, multi-color indication is a great tool. Eaton’s M22 modular pushbutton line includes a multi-color indicating light designed to provide seven colors from a single unit.
✔ 24 VDC
✔ RGB (3 LED elements)
✔ Can display red, green, blue, yellow, white, violet, and turquoise
How one RGB LED makes multiple colors
It’s the same idea as an RGB stack in other electronics: you control 🔴 Red, 🟢 Green, and 🔵 Blue channels, then mix them.
A terminal diagram for this style of RGB module shows separate inputs for +R, +G, +B, plus GND, and lists common mixes like:
 Red + Green = 🟡 Yellow
Red + Blue = 🟣 Violet
Green + Blue = 💠Turquoise
Red + Green + Blue = ⚪ White
In a PLC-driven panel, that means you can change the color based on logic—without drilling extra holes or adding extra pilot lights.
If you want the full overview and application ideas, read our short post here: Eaton M22 RGB LED
And if you want to test it in your own panel, you can request a free sample here: Request a free Eaton M22 RGB LED sample

Additional Resources
- Article: Eaton M22 RGB LED & Pushbutton
- Pricing and Availability: Eaton M22 RGB LED & Pushbutton
- Get a Free Sample: Eaton M22 RGB LED
- Explore pilots, indicators and lighting
- Contact Us
Leave Comment