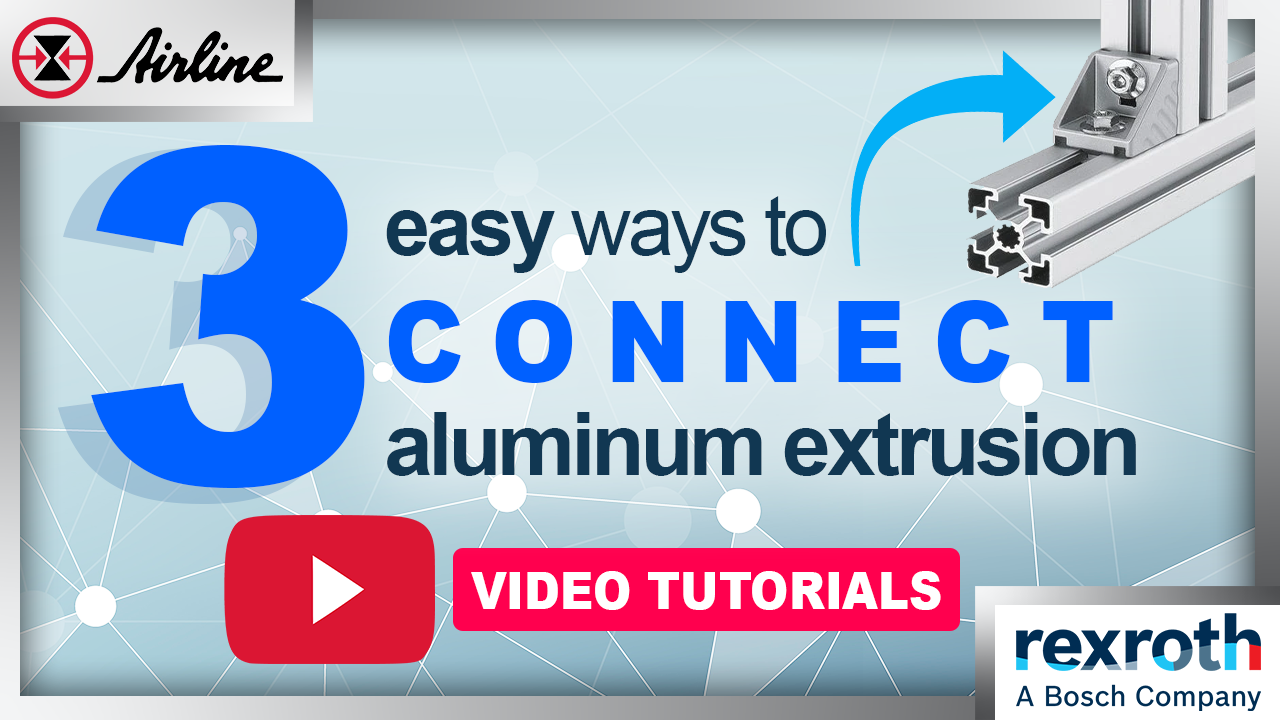
Aluminum extrusion is one of the easiest and most versatile materials to build with. With just a few simple hand tools, you can basically build anything! In these three videos, I'll demonstrate three basic ways to connect extrusion together, as each one serves a different purpose. Let's get into it!
Jump to Section:
About Aluminum Extrusion
About Aluminum Extrusion
With aluminum extrusion, the only limit to what you can build is your imagination. Click here if you'd like to learn more about the process of how to build anything with aluminum framing, but when the rubber meets the road, you're going to need to know two things: Which connector is right for the job, and how to use it to join extrusion.
And remember, all of the materials needed are available on our website.
How to connect Aluminum Extrusion in 3 Ways
Method 1: M12 Screw
The M12 Connecting Screw is a simple but reliable option to connect joints that aren't frequently changed. A major benefit to the M12 is that there are no slot obstructions in the joint, making it perfect for panels, sheet metal, or anything else you're inserting. The M12 requires a tapped extrusion profile for the screw to thread into, a small access hole drilled opposite the joint, and an Allen wrench to tighten. Slide the screw head into the other extrusion, line it up with the access hole, tighten, and enjoy!
Pros: No joint obstructions, no tap drill required to thread, and high resistance to vibration.
Cons: Access hole requirement makes it harder to adjust.
Method 2: Quick Connector
The Quick Connector is just what you would think! One hole must be drilled for the barrel and set screw to be inserted. Once the barrel is in place, you insert a stud into the end of the extrusion and press until you just can't see the O-ring. Then, like the M12, slide the stud head to the desired join location and tighten the barrel screw. This connector can be adjusted at any time with the turn of an Allen wrench and without further drilling.
Pros: No joint obstructions, quick assembly, and easily adjustable.
Cons: It still needs a hole drilled (which we can provide pre-drilled).
Method 3: Gusset
The Gusset Connector is the heartiest of the three connectors, being die-cast with sturdy sidewalls. Don't let that bulk fool you, though, the Gusset is still extremely simple to install, and it is the only connector of the three that doesn't require drilling, tapping, or machining. You'll need the cast gusset and two T-bolts (a nut, bolt, and washer, with a T-stud on the end). The gusset has anti-rotation tabs built into it, which keep things square during assembly. You'll start but inserting those tabs where you'd like your joint. After inserting and twisting your T-bolt into place, tighten it with a wrench, and repeat the process with the second piece of extrusion. It's that simple! You can even add a cap to cover things on top, keeping things clean and stylish.
Pros: Easily adjustable, sturdy, clean appearance, and requires no drilling or machining.
Cons: T-slot joints are obstructed from inserting panels or accessories.
Watch more framing videos in our YouTube series
Now that you can connect extrusion with the M12 Connecting Screw, quick connector, and gusset and know their strengths and weaknesses, you're on your way to building anything! I'm glad I got to show you how easy it is to work with aluminum extrusion, as it really is one of the most versatile materials to work with.
Airline Hydraulics has been designing, building, shipping, and installing aluminum framing systems since 1992, and we'd love to answer any questions you have, no matter what stage your project is in.
|
Resources
More aluminum extrusion blog posts
Shop Aluminum Extrusion
See Framing Systems Examples
Check Out More Blog Posts
Airline's Youtube Channel


 Airline Does Aluminum Extrusion
Leave Comment